Forwarding iPad connected to local Windows to macOS server

Forum / NoMachine for Mac / Forwarding iPad connected to local Windows to macOS server

Viewing 4 posts - 1 through 4 (of 4 total)
  • Author
    Posts
  • #26017
    luckyBadger
    Participant

    My machine runs Windows 10.

    My server is macOS 10.15 Catalina.

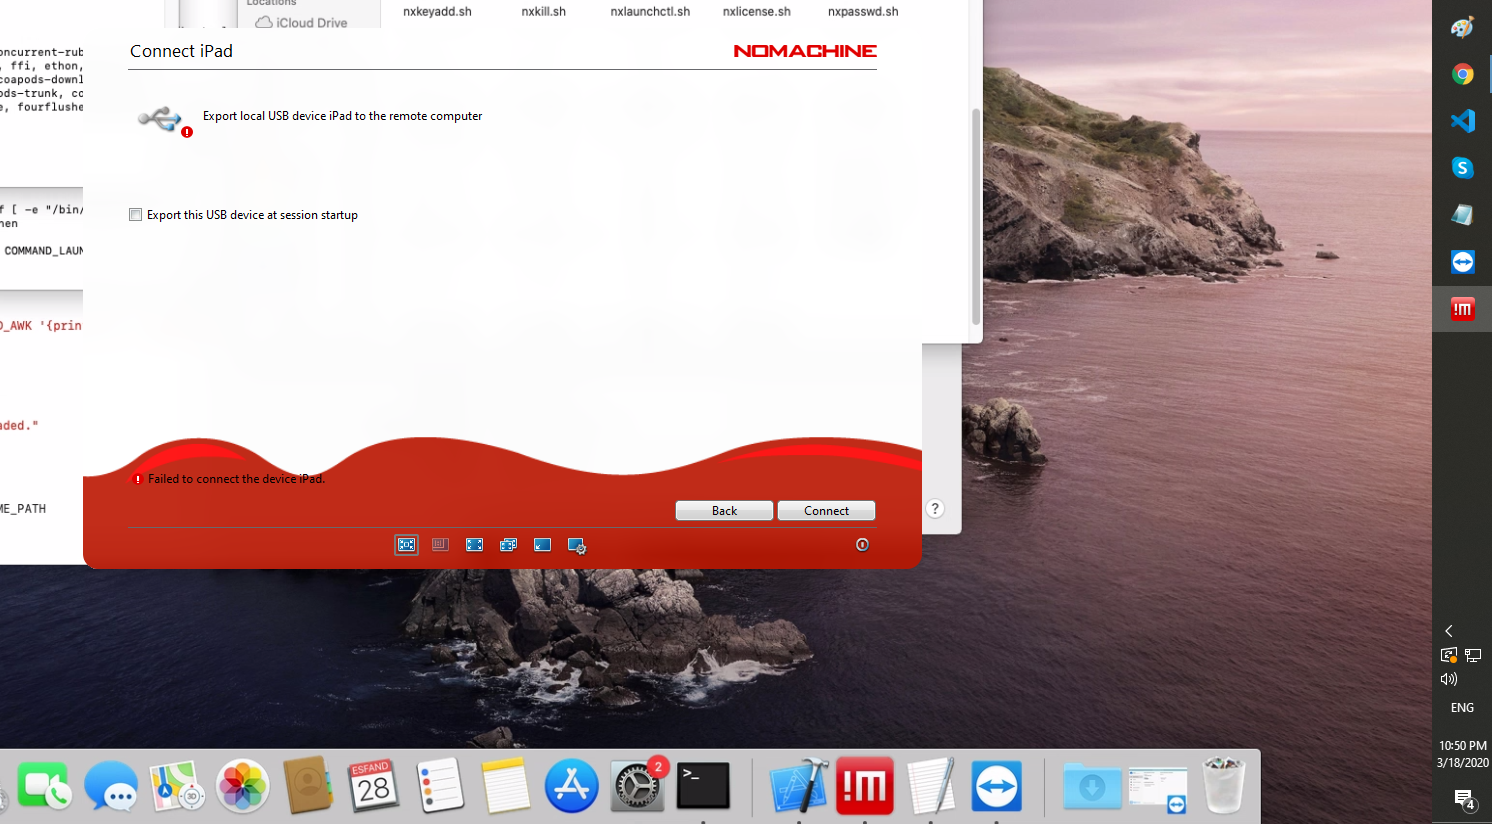
    On my local windows machine I plug in iPad, and then go to NoMachine to connect the USB device to my server. iPad is visible in NoMachine (see step1.png).

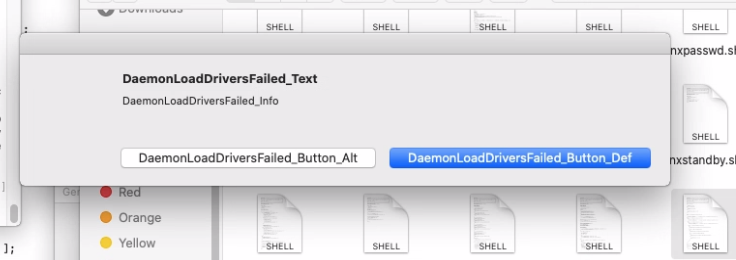
    The connection fails with DaemonLoadDriversFailed_Text message appearing on the Mac server (see step3.png), and then a message in NoMachine client that I failed to connect the device (see step4.png).

    It’s worth noting that once I click the Connect button, as seen on step1.png, iPad gets disconnected from windows, and then when I get the message in step4.png it reconnects again.

    Can you please help me? I’ve lurked around the forums and have noticed that there were similar problems already, but they date back to 2014 and 2018 and were supposedly fixed in some updates.

    Attachments:
    #26025
    Giorgi-G.
    Contributor

    Hi,

    First of all, it looks like you have old NoMachine installed on your machine. Please uninstall it and install the latest one.

    During the installation please take a look to allow all NoMachine System Extension installation. There is an article on how to do that.

    https://www.nomachine.com/AR01P00962


    #26026
    luckyBadger
    Participant

    Same thing happens when I try to plug in a USB stick as well. I tried running NoMachine as administrator on my Windows, but it doesn’t help.

    I will update the thread name, now that I see that it’s not iPad related problem, but the whole USB module.

    #26039
    Giorgi-G.
    Contributor

    This issue is not device-related, it’s USB forwarding module related issue.

    It’s on the server (Mac) side, not on the Windows side. So there is no need to do anything on Win part.

    You need to uninstall NoMachine on Mac server, after installing it again and allow MacOS to install NoMachine Extensions. That should be done on Mac -> System Preferences -> Security & Privacy. The procedure is described step by step in the article I have sent you before.

    To not miss the Extension approving prompt by Mac, it’s better to open Mac -> System Preferences -> Security & Privacy -> General panel before you start installing NoMachine.

Viewing 4 posts - 1 through 4 (of 4 total)

This topic was marked as solved, you can't post.